
 Track Order


I am a smell-sensitive person, but the body lotion feels so moisturizing and smells really good

Save Big on Combos
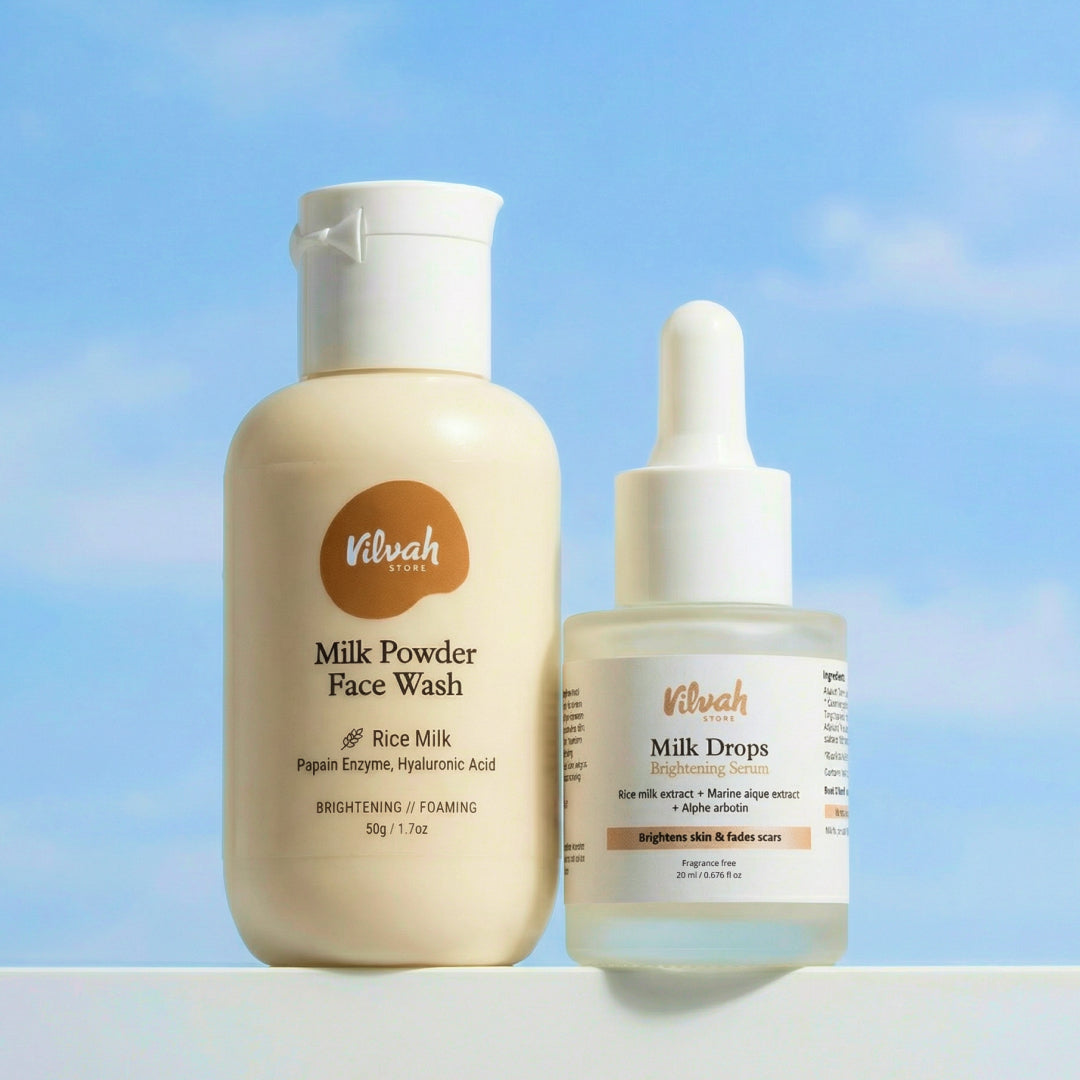

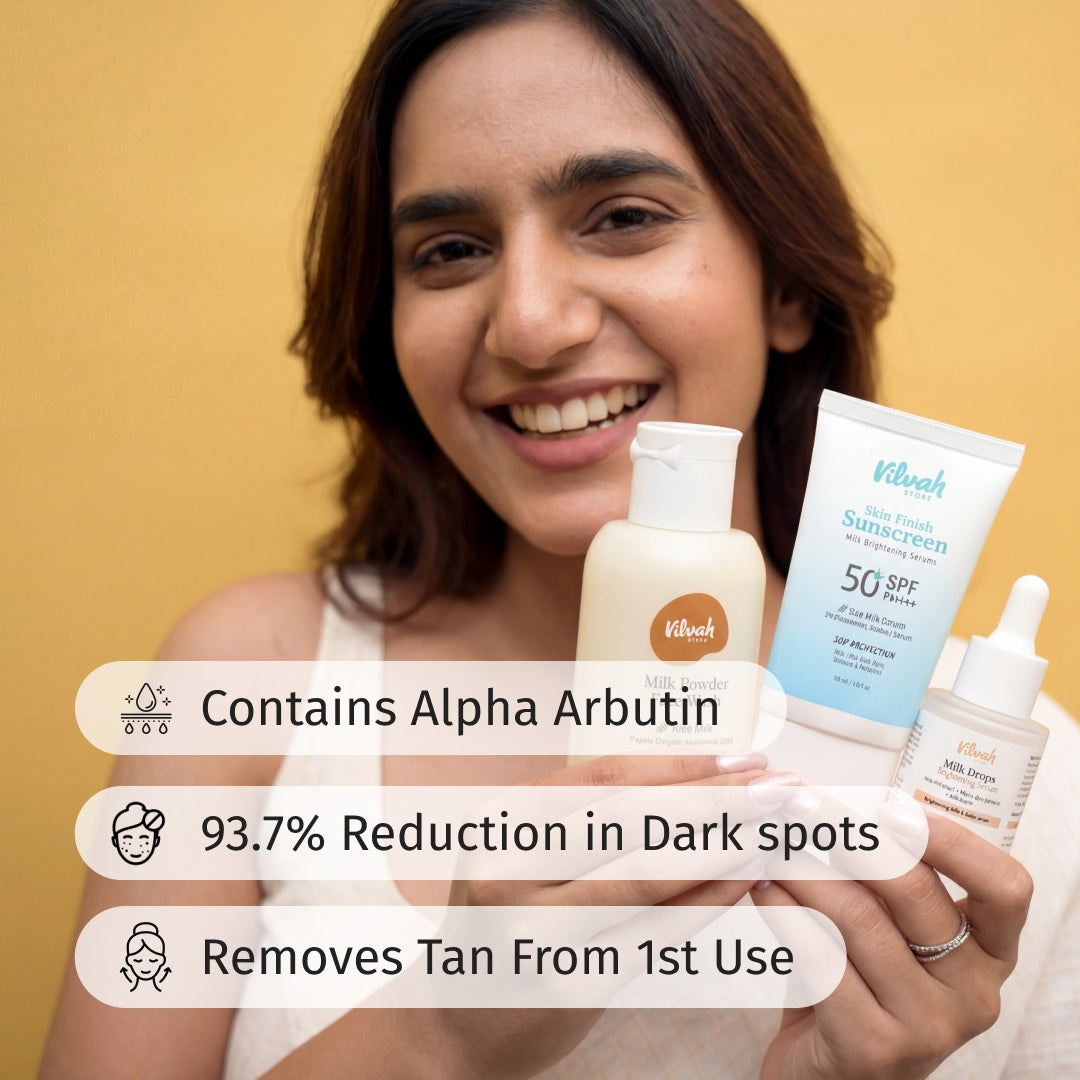
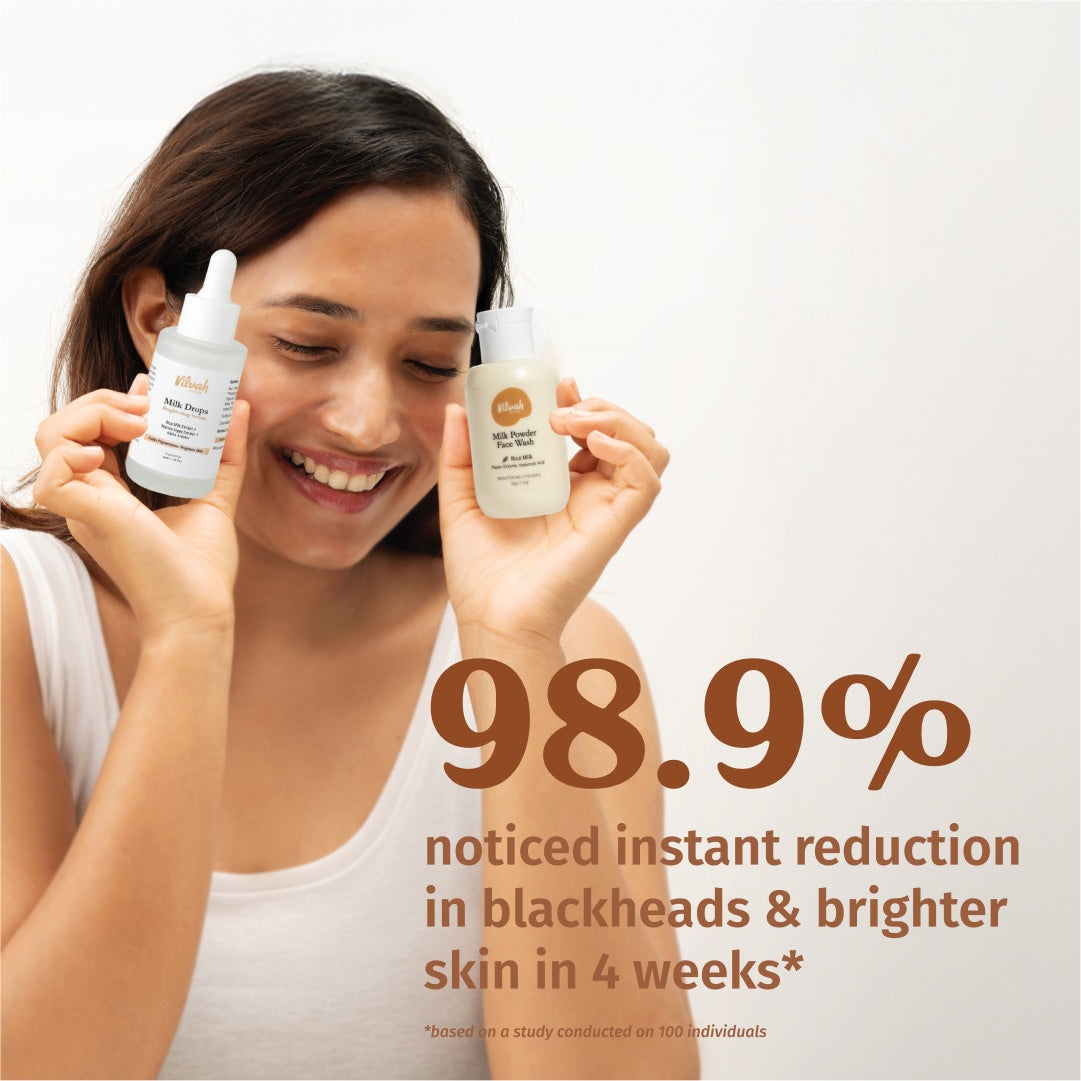
Brightens Skin In 4 Weeks
Sale price₹1,124
Regular price₹1,139
1% OFF
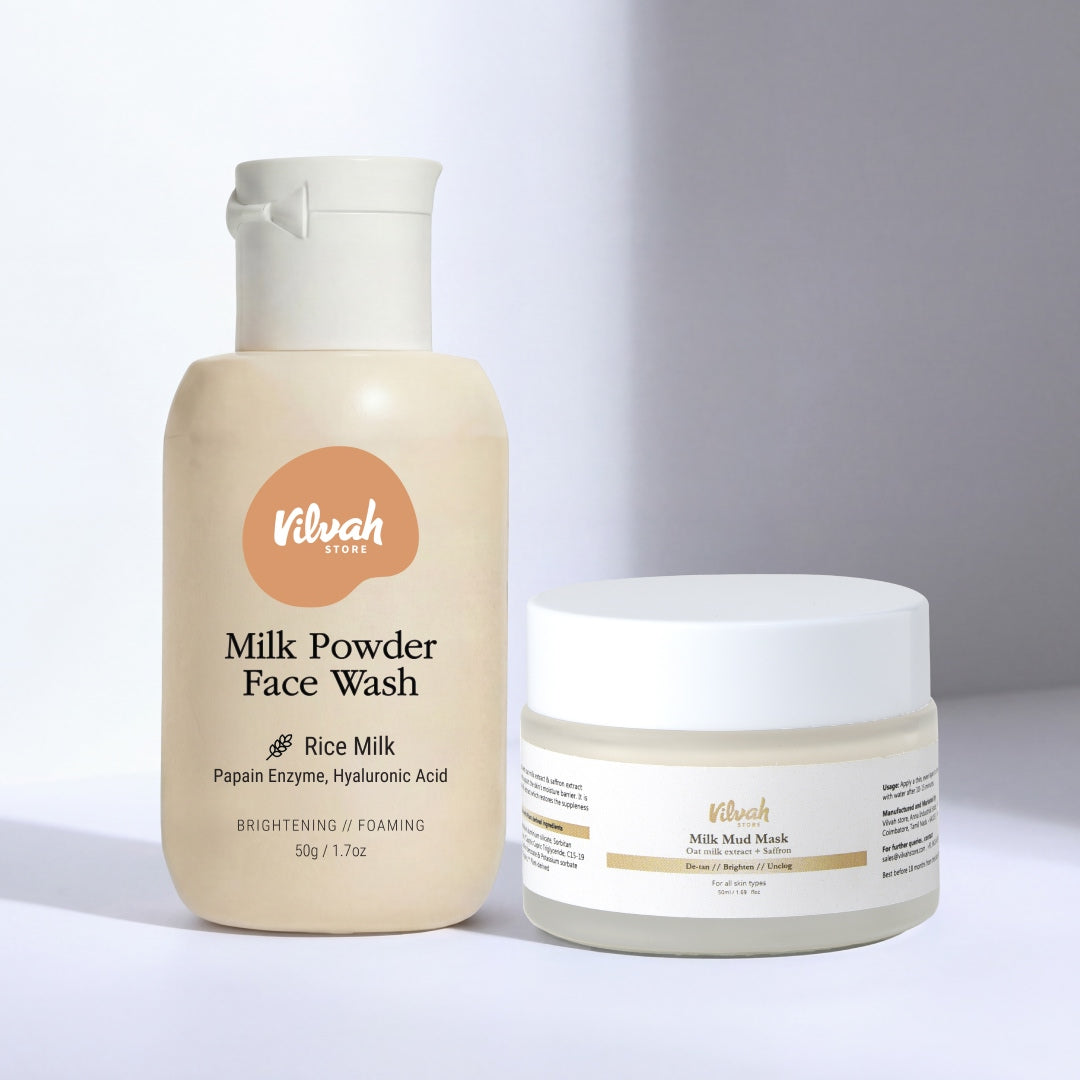
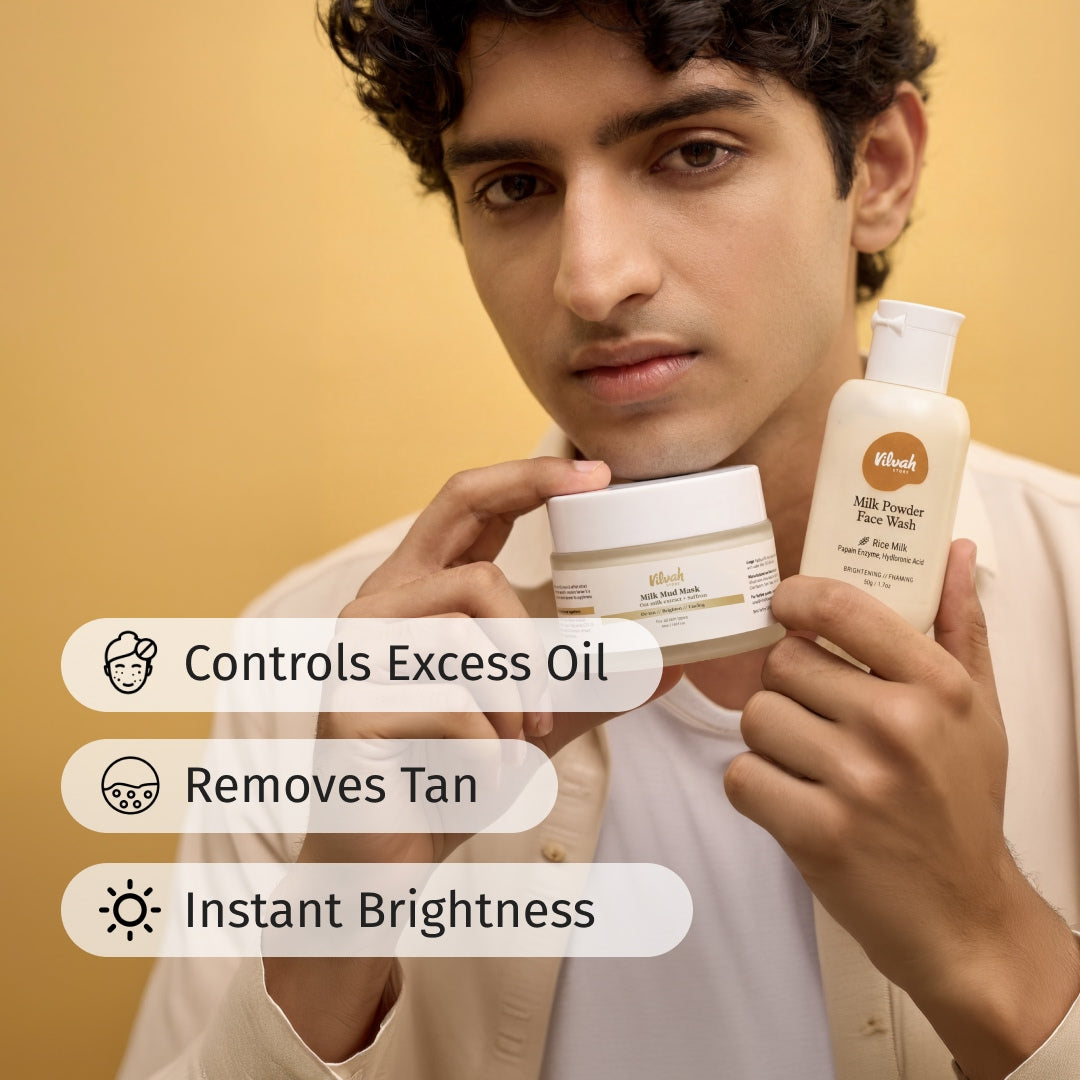
Deep Clean Daily. Detox Weekly
Sale price₹899
Regular price₹998
10% OFF
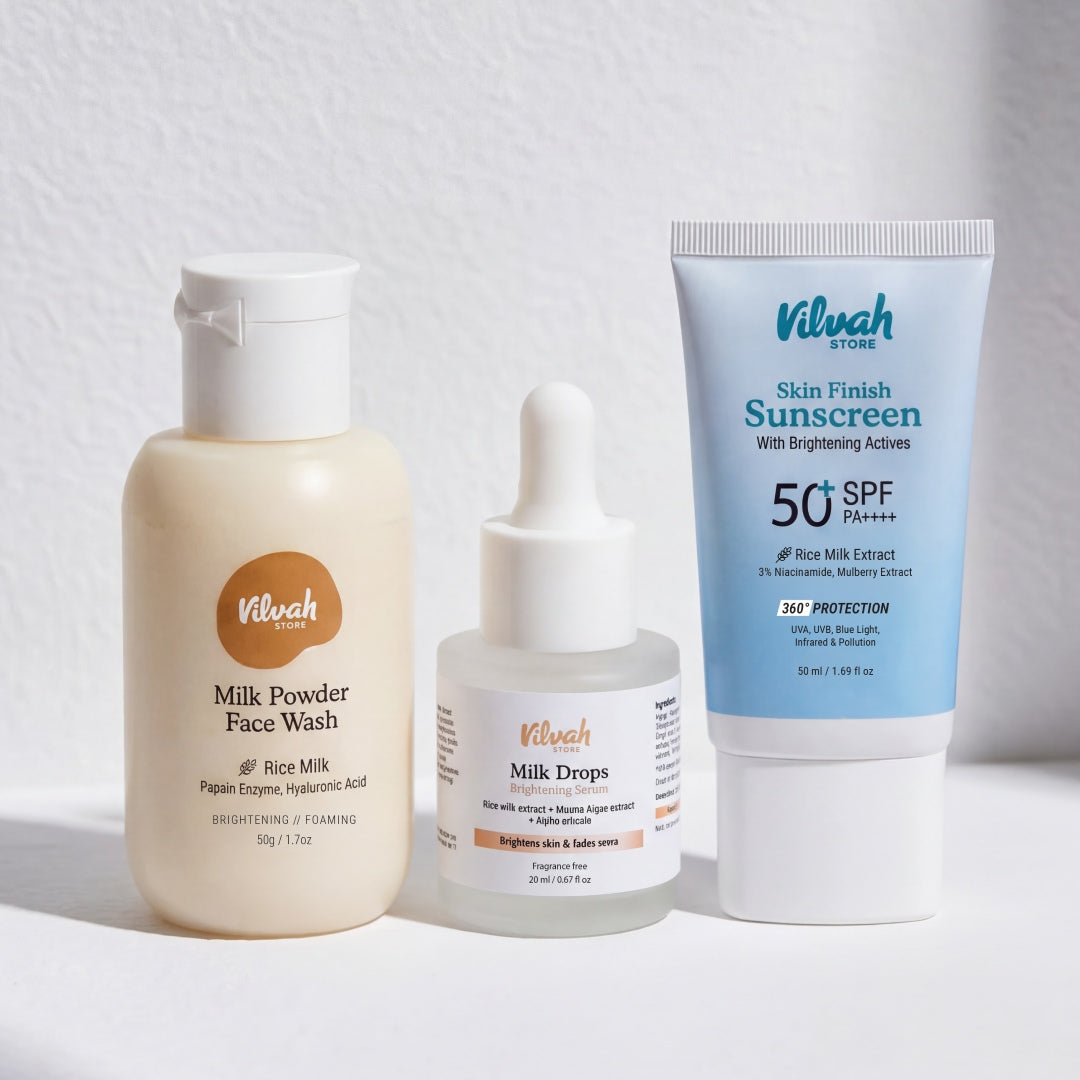
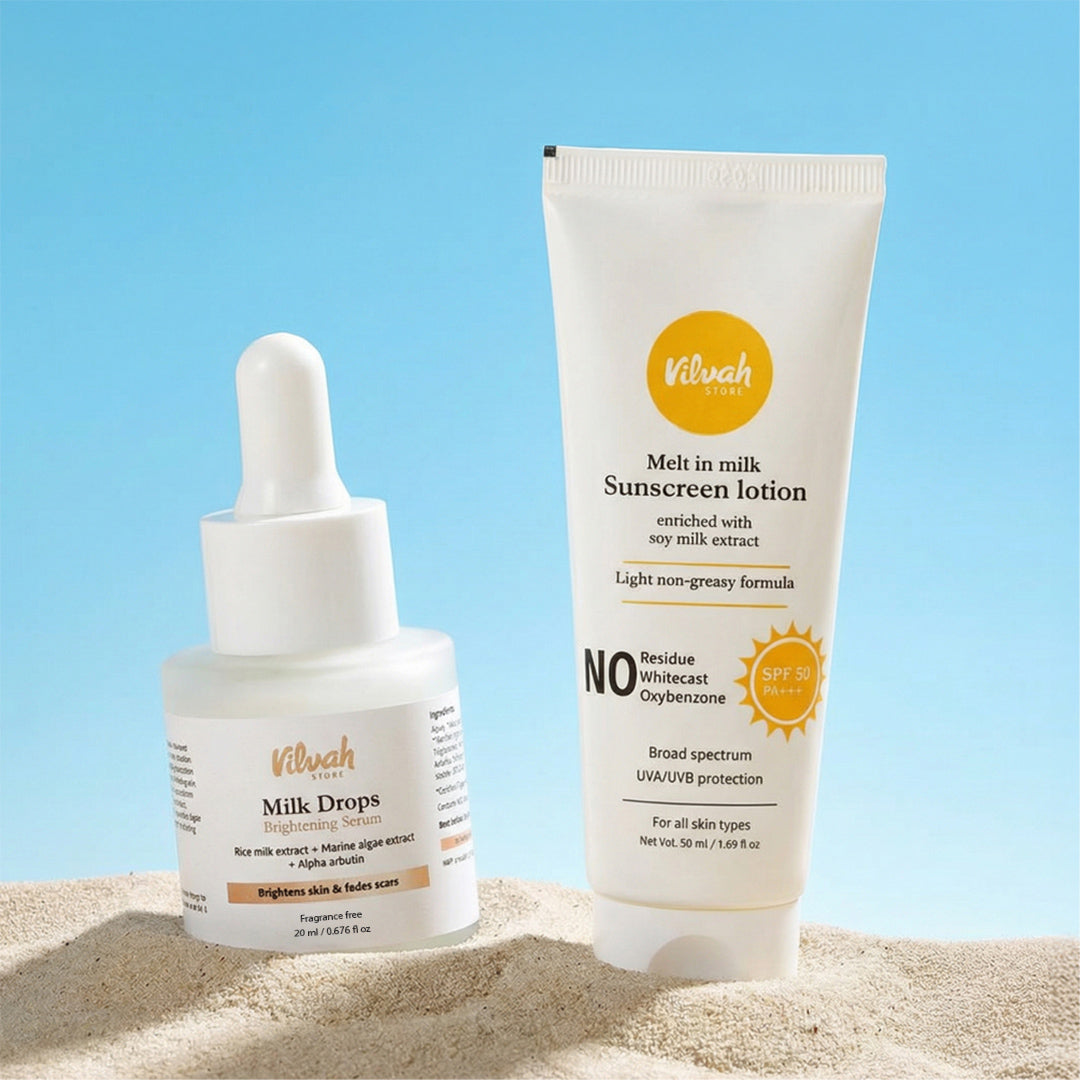
Cleanse. Brighten. Protect. Repeat.
Sale price₹1,565
Regular price₹1,738
10% OFF


Strengthens & Nourishes Hair
Sale price₹1,099
Regular price₹1,280
14% OFF
Limited Time Deal
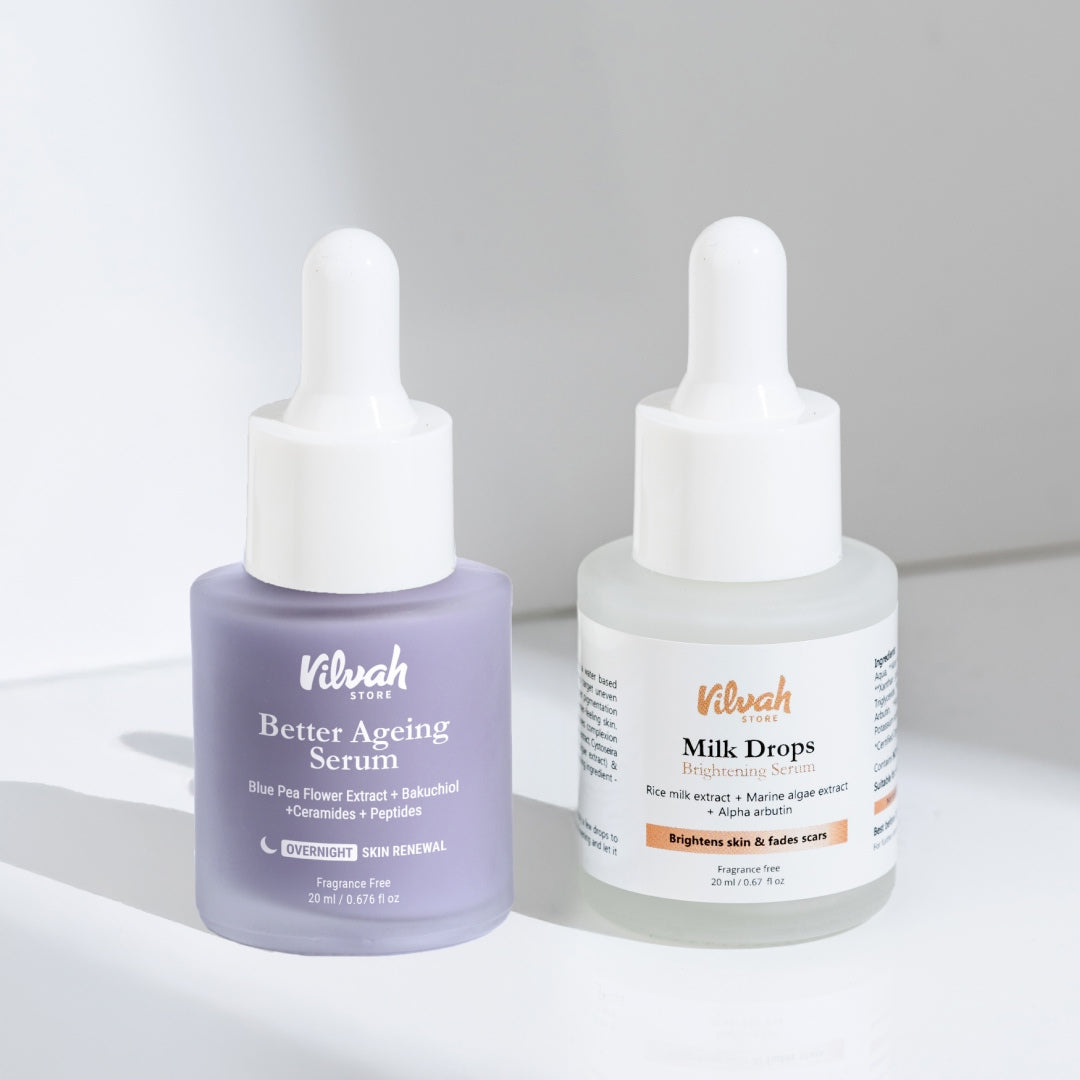
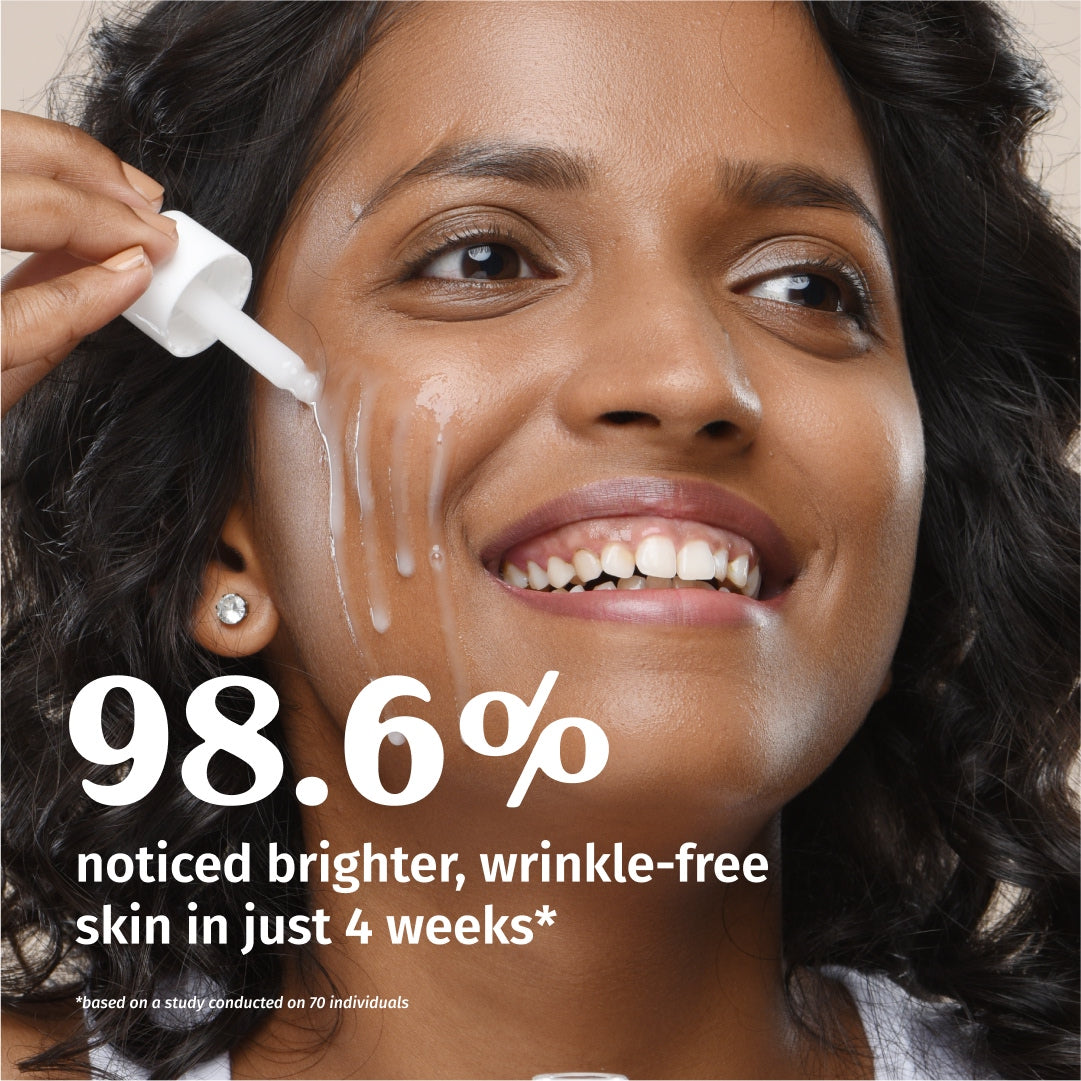
Brighter, Wrinkle-Free Skin In 4 Weeks
Sale price₹1,249
Regular price₹1,390
10% OFF
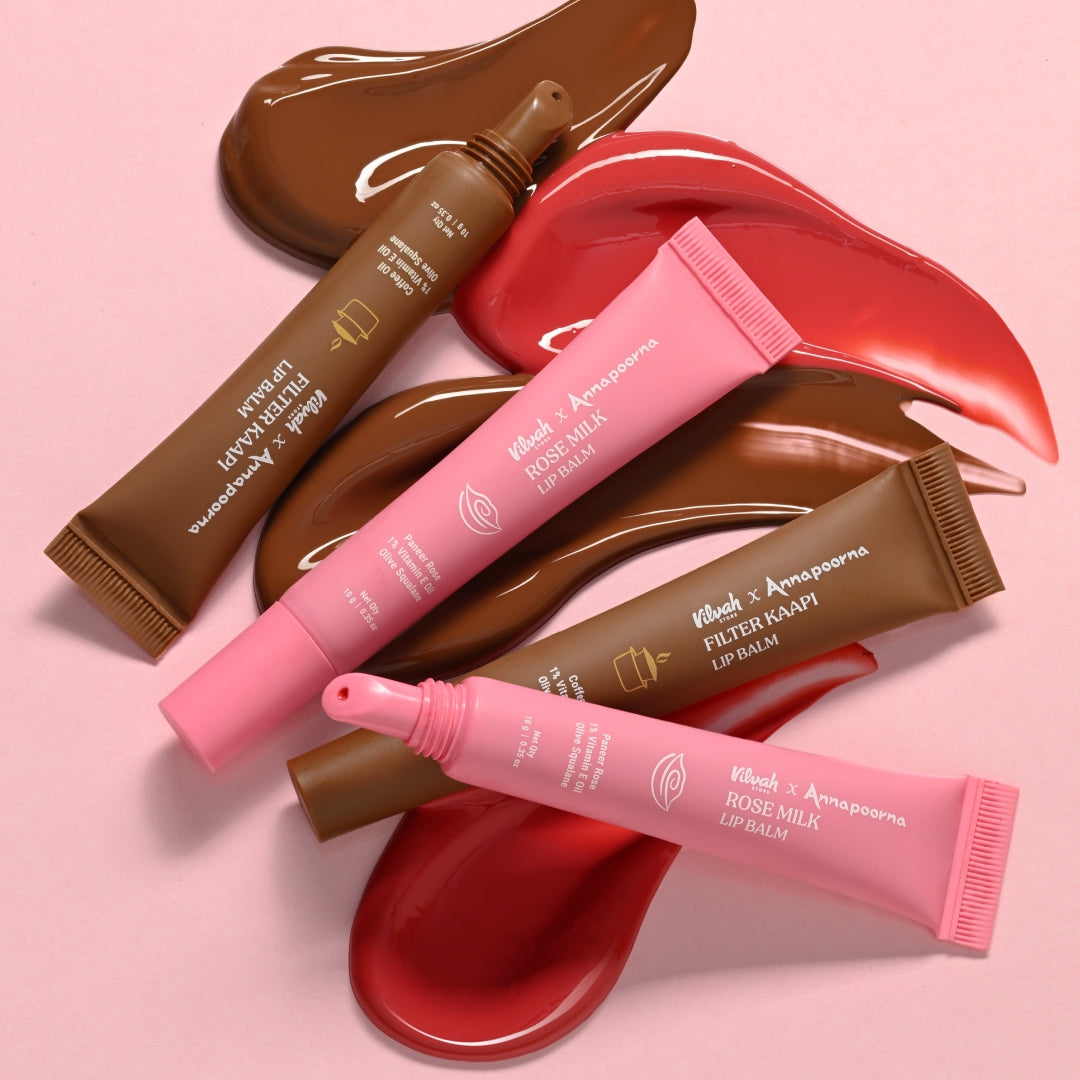
Nourishes, Softens & Adds Tint
Sale price₹699
Regular price₹790
12% OFF
LIMITED EDITION


Nourishes, Softens & Adds Tint
Sale price₹699
Regular price₹790
12% OFF
Limited Time Deal
Daily 2-step routine for brighter skin
Sale price₹1,139
Regular price₹1,239
8% OFF
Brightens Skin In 4 Weeks
Sale price₹1,748
Regular price₹1,779
2% OFF


Daily 2-step routine for healthy skin
Sale price₹1,689
Regular price₹1,879
10% OFF
Best Seller
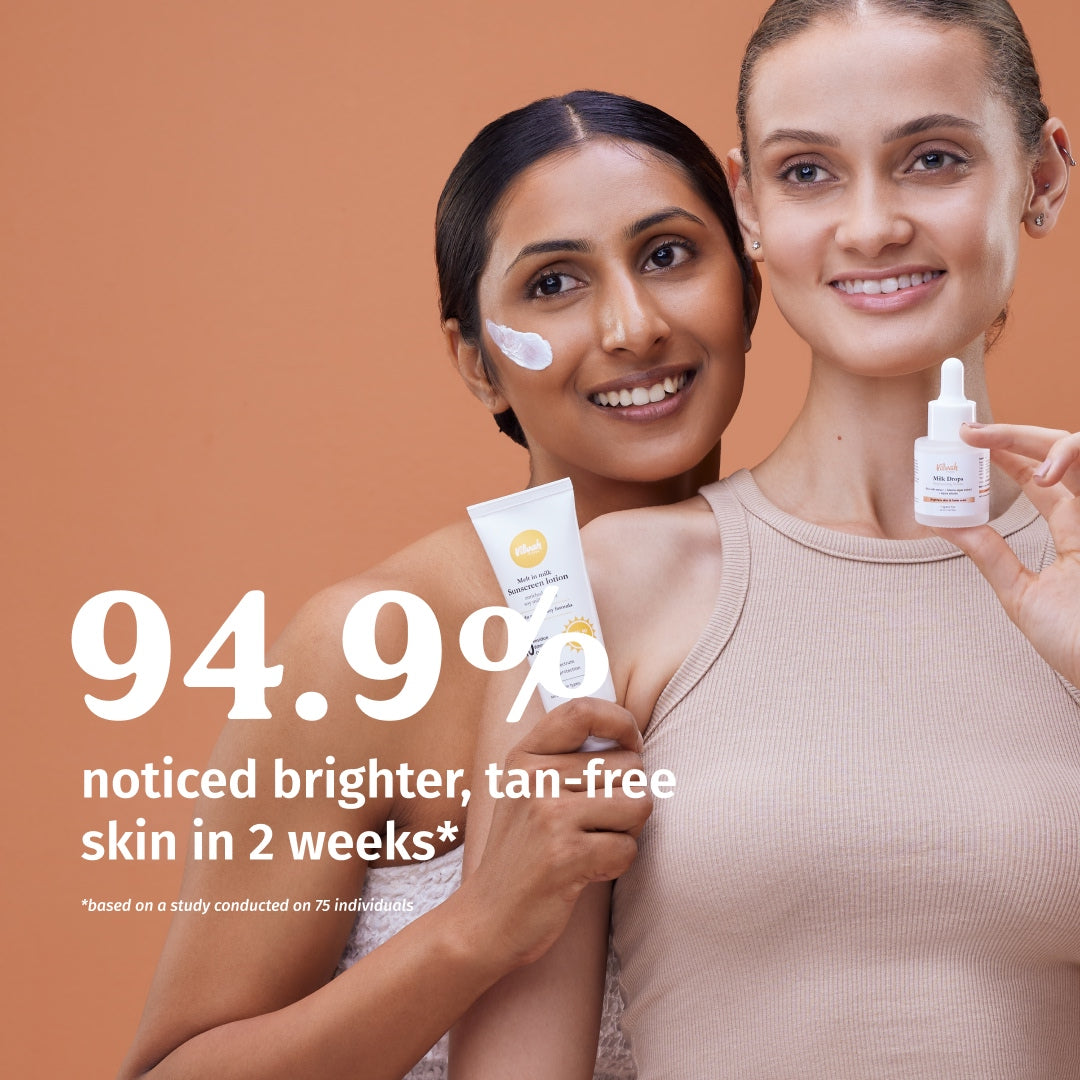
Brightens & Protects Skin
Sale price₹1,049
Regular price₹1,239
15% OFF
New Launch
Removes tan & protects from sun damage
Sale price₹999
Regular price₹1,098
9% OFF
De-tans, refreshes & brightens skin
Sale price₹899
Regular price₹998
10% OFF
Unclogs Pores & Removes Blackheads Instantly
Sale price₹929
Regular price₹998
7% OFF
Cleanses, Nourishes & Protects Skin
Sale price₹1,079
Regular price₹1,200
10% OFF


Discover Your Skin Type: Easy Tips to Identify It
Before you reach for any cleanser, moisturizer, or SPF, there's one thing dermatologists agree on: you need to know your skin type first. Using the wrong products for your skin can trigger breakouts, excess oiliness, dryness, irritation, and even accelerate premature aging.
According to a 2022 survey by the International Dermal Institute, over 67% of people use skincare products that don't match their actual skin type, and that mismatch is one of the leading causes of persistent skin problems. Whether you're building your very first routine or looking to upgrade an existing one, identifying your skin type is the non-negotiable starting point.
This guide breaks down everything you need to know about how to know your skin type, the different types of skin, and the easiest at-home tests you can do right now.
What Are The Different Skin Types?
Dermatologists generally classify skin into five main skin types. Each has distinct characteristics, needs, and challenges:
Skin Type
Key Characteristics
Common Concerns
Normal
Balanced oil and moisture, minimal sensitivity
Few blemishes, rarely feels tight or greasy
Oily
Excess sebum production, enlarged pores
Acne, shine, blackheads
Dry
Low sebum, rough or flaky texture
Tightness, dullness, fine lines
Combination
Oily T-zone, dry or normal cheeks
Uneven texture, localized breakouts
Sensitive
Reacts easily to products or environment
Redness, stinging, rashes, irritation
Understanding which category you fall into, or whether you have a mix is the foundation of smart skincare.
How To Identify Your Skin Type At Home
You don't need a dermatologist's appointment to figure out your skin type. There are several simple, reliable methods you can try at home today.
1. The Bare-Face Test (The Gold Standard Method)
This is the most widely recommended method for how to check your skin type and requires nothing but your own face and 30 minutes.
Step-by-step:
Wash your face with a gentle, non-medicated cleanser such as the Milk Powder Face Wash
Gently pat dry, do not apply any product afterward
Wait 30 minutes
Observe your skin in natural light (look, touch, and feel)
What to look for after 30 minutes:
Shiny or greasy all over → Oily skin
Tight, rough, or flaky → Dry skin
Shiny on forehead, nose, and chin only → Combination skin
Comfortable, balanced, and soft → Normal skin
Red, itchy, or burning sensation → Sensitive skin
2. The Blotting Paper Test
This is one of the quickest ways for how to find your skin type and works best in the afternoon when your skin has had time to behave naturally.
How to do it:
Take a clean blotting sheet or thin tissue paper
Press it gently on different areas of your face - forehead, nose, cheeks, chin
Hold the sheet up to a light source and examine the oil marks
How to read the results:
Oil on all sections → Oily skin
Little to no oil on any section → Dry skin
Oil only on the T-zone section → Combination skin
Minimal oil with comfortable feeling → Normal skin
Pro Tip: Do this test in the mid-afternoon, around 2-4 PM, when your skin's natural patterns are most evident, not right after washing your face.
3. The Watch-and-Feel Method
Simply go about your normal day without applying any products after cleansing in the morning. By midday, check in with how your skin feels.
Does it feel tight or itchy? → Dry Skin
Is it visibly shining in photos or mirrors? → Oily Skin
Is it comfortable and unchanged? → Normal Skin
Does it burn or sting when you apply water or light products? → Sensitive Skin
Is it oily in some places but tight in others? → Combination Skin
Deep Dive: Understanding Each Skin Type
Normal Skin
Normal skin is the least problematic of all skin types. It has a well-balanced sebum production, good circulation, and a healthy moisture barrier. People with normal skin often have:
Small, barely visible pores
A smooth, even texture
Few or no blemishes
No extreme sensitivity
Even normal skin needs consistent care. Using a gentle face wash for all skin types such as the Honey Fix Face wash helps maintain that balance without disrupting your natural pH. Pair it with a good moisturizer for all skin types to keep your barrier healthy year-round.
Oily Skin
Oily skin is caused by overactive sebaceous glands that produce excess sebum. While sebum is essential for skin health, too much of it leads to clogged pores and breakouts.
Statistics on oily skin:
Oily skin affects approximately 40-55% of people in humid climates, according to a study published in the Journal of Cosmetic Dermatology
Teens and young adults are most affected due to hormonal fluctuations during puberty
Signs you have oily skin:
Persistent shine, especially by midday
Enlarged or visible pores
Frequent blackheads and whiteheads
Makeup tends to "slide off" or not last
Skincare tips for oily skin:
Oily skin can be managed by following simple skincare habits and routines:
Use a gel-based or foaming face wash to remove excess oil without stripping the skin
Don't skip moisturizer. dehydrated skin actually produces more oil to compensate
Choose non-comedogenic, oil-free formulas
Apply the best non-comedogenic sunscreen in a lightweight, mattifying formula every morning.
Dry Skin
Dry skin lacks sufficient sebum and struggles to retain moisture. This makes the skin barrier weaker, leading to increased sensitivity and visible signs of aging over time.
Signs you have dry skin:
Tightness or pulling sensation after washing
Flaking, peeling, or rough patches
Dull or ashy complexion
Fine lines appear more prominent
Skin may crack in harsh weather
Statistics on dry skin:
Dry skin affects up to 30% of the global population, with prevalence increasing with age
Post-menopausal women are especially susceptible due to declining estrogen levels
Skincare tips for dry skin:
A good skincare routine for dry skin can help improve skin texture and prevent barrier damage.
Use cream-based or oil-infused cleansers such as Vilvah’s Cream Cleanser that does not strip moisture
Apply a rich, emollient best moisturizer for all skin types immediately after cleansing while skin is still slightly damp. Vilvah’s Ultra Moisturizing cream works best for dry skin.
Look for ingredients like hyaluronic acid, ceramides, shea butter, and glycerin
Reapply moisturizer throughout the day as needed
A hydrating sunscreen is a great option to shield the skin from sun damage.
Combination Skin
Combination skin is the most common skin type worldwide. It features an oily T-zone (forehead, nose, and chin) with normal to dry cheeks. It's also one of the trickiest to manage because different zones have different needs.
Signs you have combination skin:
Shiny nose and forehead, but tight or normal cheeks
Breakouts concentrated on the T-zone
Enlarged pores around the nose
Makeup wears off unevenly
How to care for combination skin:
Use a balanced, gentle cleanser across the whole face
Apply lighter, gel-based moisturizer on the T-zone and a richer formula on dry areas
Use blotting papers midday to manage shine
Choose a sunscreen that's lightweight enough for oily zones but nourishing enough for dry areas.
Sensitive Skin
Sensitive skin isn't always a standalone skin type, it can overlap with dry, oily, or combination skin. What defines it is reactivity: the skin responds quickly and intensely to triggers like products, weather, food, stress, or environmental pollutants.
Signs you have sensitive skin:
Redness, rashes, or hives after using new products
Stinging, burning, or itching with minimal provocation
Skin flushes easily
History of eczema, rosacea, or contact dermatitis
Skincare tips for sensitive skin:
Always patch-test new products on your inner arm before applying to your face
Choose fragrance-free, hypoallergenic formulas such as the Milk Drops Brightening serum for hydrated, balanced skin
Avoid harsh exfoliants, alcohol-based toners, and strong actives like retinol or AHAs without dermatologist guidance
Use a mineral-based sunscreen with zinc oxide or titanium dioxide, these are less likely to cause irritation than chemical UV filters
Factors That Can Change Your Skin Type
Your skin type isn't necessarily fixed for life. Several factors can cause it to shift temporarily or permanently:
Internal Factors
Hormonal changes: Puberty, pregnancy, menopause, or hormonal imbalances can trigger shifts in oiliness and sensitivity
Genetics: Your baseline skin type is largely inherited
Age: Skin tends to become drier and thinner as you age; oiliness often decreases after your 30s
External Factors
Climate and season: Skin often becomes drier in winter and oilier in summer
Diet and hydration: Dehydration affects skin moisture levels; dairy and high-glycemic foods can worsen acne in oily skin
Skincare habits: Over-cleansing, using harsh products, or skipping moisturizer can disrupt your skin's natural state
Stress: Cortisol spikes can increase oil production and worsen inflammatory conditions
Reassess your skin type every season, especially if you've moved to a new climate, changed your diet significantly, or are going through a hormonal life stage.
Quick Reference: Skin Type Identification Checklist
Use this checklist as a quick guide for how to identify your skin type:
After the bare-face test, ask yourself:
Does my skin feel tight, rough, or look flaky? → Dry
Does my entire face look shiny and feel greasy? → Oily
Is only my T-zone oily while cheeks feel normal/dry? → Combination
Does my skin feel comfortable, soft, and balanced? → Normal
Does my skin sting, turn red, or react easily? → Sensitive
Building Your Skincare Routine Based on Skin Type
Once you know your skin type, building a routine becomes much simpler. Here's a quick framework:
Step
Oily Skin
Dry Skin
Combination
Normal
Sensitive
Cleanser
Foaming/gel
Cream/oil
Gentle foam
Micellar/gentle
Fragrance-free milk
Moisturizer
Oil-free gel
Rich cream
Lightweight + targeted
Balanced lotion
Barrier-repair cream
SPF
Mattifying SPF
Hydrating SPF
Hybrid SPF
Broad spectrum SPF
Mineral SPF
Extras
Niacinamide, salicylic acid
Hyaluronic acid, ceramides
Zone-targeted serums
AHAs, antioxidants
Centella asiatica, aloe
Regardless of skin type, sunscreen is non-negotiable. Consistent use of a sunscreen prevents premature aging, hyperpigmentation, and reduces skin cancer risk, making it the single most impactful skincare step for every skin type.
Final Thoughts
Knowing how to find your skin type isn't about fitting into a box, it's about understanding your skin's unique needs so you can care for it intelligently. Whether your skin is oily, dry, combination, normal, or sensitive, every type has its strengths and its challenges.
Start with the bare-face test or the blotting paper method today. From there, invest in the right cleanser, the best moisturizer for all skin types suited to your needs, and never, ever, skip the best sunscreen. Because healthy, glowing skin isn't a trend. It's a habit.
FAQs
1. How many types of skin are there?
There are five main skin types: normal, dry, oily, combination, and sensitive. Each skin type behaves differently, so understanding yours helps you choose the right skincare and avoid unnecessary problems.
2. How can I know my skin type?
You can know your skin type by observing your skin after washing it. If it feels oily, dry, tight, or balanced within an hour, it gives a clear clue. Your skin’s daily behavior is the easiest way to understand it.
3. How should you care for your skin type?
Caring for your skin type means using products that match your skin’s needs. Dry skin needs moisture, oily skin needs oil control, and sensitive skin needs gentle care. The right routine makes your skin feel calm, healthy, and balanced.
4. Can skin type change over time?
Yes, skin type can change due to age, hormones, weather, lifestyle, or stress. That’s why your skincare routine should also evolve with your skin’s changing needs.
5. Which skin type needs the most skincare?
All skin types need care, but dry and sensitive skin often need extra attention because they can easily become irritated, dehydrated, or uncomfortable without proper care.
Read More →

How to Remove Dead Skin for Smooth, Healthy Skin
Your body sheds nearly 500 million skin cells every day. But sometimes, these cells don't fall off completely. Instead, they build up on the surface, making your skin look rough, uneven, and tired. This buildup can also make it harder for skincare products to work effectively.
The good news? Removing dead skin doesn't require complicated treatments or expensive procedures. With the right skincare routine, you can achieve smoother, brighter skin.
In this blog, you'll learn how to remove dead skin from face & body, why dead skin builds up in the first place, and how exfoliation helps.
Why Does Dead Skin Build Up?
Your skin is constantly renewing itself. Every month, your skin creates new cells and pushes older cells to the surface. Normally, these dead cells shed naturally. However, factors like aging, dehydration, pollution, sun exposure, and improper skincare can slow down this process.
When dead skin cells accumulate, you may notice:
Dull-looking skin
Rough texture
Dry patches
Clogged pores
Uneven skin tone
Increased breakouts
This buildup acts as a barrier, preventing your skincare products from reaching the fresh skin beneath.
Signs Your Skin Needs Exfoliation
Not sure if dead skin buildup is affecting your skin? Look for these signs.
Your skin looks dull
Healthy skin reflects light naturally. When dead cells accumulate, your complexion can appear tired and lifeless.
Products stop working well
If your favourite serum suddenly feels ineffective, dead skin buildup may be preventing proper absorption.
Makeup looks patchy
Foundation often clings to dry patches when dead skin accumulates on the surface.
Your skin feels rough
A rough texture is one of the most obvious signs of dead skin buildup.
How Does Dead Skin Affect Skin Health?
Dead skin doesn't just affect appearance. Over time, excess buildup can:
Trap oil and dirt
Contribute to clogged pores
Increase the appearance of blackheads
Make skin feel uneven
Reduce the effectiveness of skincare products
That's why regular exfoliation is an important part of a healthy skincare routine.
How To Remove Dead Skin From Face?
The skin on your face is delicate and requires gentle care. Aggressive scrubbing can do more harm than good.
Start With Gentle Cleansing
A good cleanser can make a big difference when dealing with dull, rough skin. If you're searching for the best face wash for dead skin cells, look for a formula that not only cleanses effectively but also helps remove buildup without stripping away your skin's natural moisture.
A good face wash should:
Clean without drying
Support gentle exfoliation
Maintain skin hydration
Help improve skin texture
Remember, cleansing is your first step toward smoother skin.
Exfoliate Regularly
Regular exfoliation supports the skin's natural renewal process by clearing away this buildup and revealing fresher skin underneath. It can also help improve skin texture, promote a brighter appearance, and keep pores from becoming clogged with excess oil and dead skin.
Don't overdo it. Exfoliating too frequently can damage your skin barrier. For most people:
1-2 times a week is enough
Sensitive skin may need less frequent exfoliation
Follow with hydration. Freshly exfoliated skin needs moisture. Always follow exfoliation with:
A hydrating serum
A lightweight moisturiser
Sunscreen during the day
How To Remove Dead Skin From Body?
Dead skin cells can build up over time, making your skin look dull, rough, and uneven. The key to removing dead skin is to combine gentle cleansing, regular exfoliation, and proper moisturisation.
Start With a Warm Shower
Take a warm shower for 5-10 minutes to soften the skin. This helps loosen dead skin cells and prepares your skin for exfoliation.
Use a Good Body Exfoliator
2–3 times a week, use a gentle dead skin exfoliator on areas that tend to feel rough, such as elbows, knees, arms, and legs. Massage in circular motions for a minute or two and avoid scrubbing too hard.
A mild exfoliation can help remove the buildup of dead cells and give you smoother skin. Focus on rough patches and rinse thoroughly with lukewarm water.
Moisturize Immediately
After showering, apply a nourishing body lotion while your skin is still slightly damp. This helps lock in moisture and keeps skin soft and healthy-looking.
Quick Tips
Exfoliate only 2-3 times per week.
Always moisturise after using a dead skin scrub.
Drink enough water to support healthy-looking skin.
Use sunscreen on exposed areas to protect freshly exfoliated skin.
With the right routine, removing dead skin can be simple, helping your skin feel smoother & softer over time.
How To Remove Dead Skin From Feet?
Feet are often the most neglected part of the body. Because they experience constant friction and pressure, dead skin tends to build up faster on the heels and soles.
Soak Your Feet
Warm water softens hardened skin and makes exfoliation easier.
Exfoliate Gently
Use a pumice stone or foot scrub to remove buildup.
Apply Foot Cream
Hydration is essential after exfoliation. A nourishing foot cream helps soften rough skin and prevent future dryness.
Common Mistakes To Avoid
Over-exfoliating
More isn't better. Too much exfoliation can damage your skin barrier.
Using Harsh Scrubs
Large, rough particles can create tiny tears in the skin.
Skipping Moisturiser
Freshly exfoliated skin needs hydration.
Forgetting Sunscreen
Newly revealed skin is more vulnerable to sun damage. Always apply sunscreen during the day.
Smooth Skin Starts With Healthy Habits
Removing dead skin isn't about scrubbing harder. It's about helping your skin renew itself naturally.
When done correctly, exfoliation can improve texture, brighten the skin, and help your skincare products work more effectively. The goal isn't to remove as much skin as possible, but to support healthy skin turnover while keeping your skin barrier strong.
If you're looking for gentle skincare solutions that support healthy, glowing skin, explore Vilvah's face & body care range online or step into your nearest store to experience the products firsthand and discover what works best for your skin.
FAQs
1. Why Does Dead Skin Build Up on Fingers and Hands?
Dead skin can build up on fingers and hands due to dryness, frequent washing, sun exposure, or friction. This often leaves the skin feeling rough, flaky, and less smooth than usual.
2. Is It Good to Remove Dead Skin?
Yes, removing dead skin helps reveal softer, smoother skin underneath. Gentle exfoliation can improve skin texture and allow moisturizers to work more effectively.
3. What Happens If Dead Skin Is Not Removed?
When dead skin accumulates, your hands may look dull, rough, and uneven. It can also make dry patches more noticeable and reduce the effectiveness of skincare products.
4. Does Removing Dead Skin Make You Look Younger?
Removing dead skin can make your skin appear brighter, smoother, and more refreshed. While it does not stop aging, it can help your hands look healthier and more radiant.
5. How Long Does Dead Skin Stay on the Skin?
Dead skin naturally sheds as part of the skin renewal process, which usually takes about 4 to 6 weeks. However, factors like age and skin type can affect how quickly this happens.
Read More →

What Are Blemishes on Face? Causes, Remedies & Prevention
Noticing pesky dark spots, acne marks, redness, pigmentation, or uneven patches on your skin? Then you are likely dealing with a blemish. While blemishes are extremely common, they can impact confidence and make it hard to achieve clear, healthy-looking skin.
In fact, acne and post-inflammatory pigmentation remain among the most common skin concerns globally, affecting millions of people across age groups. Recent dermatology research indicates that acne affects approximately 9.4% of the global population, while adult acne and post-acne marks continue to rise, particularly among women.
The good news? Most blemishes on face can be prevented, treated, and reduced with the right skincare ingredients and consistent habits.
In this comprehensive guide, you'll learn:
What are blemishes on face
The most common reason of blemishes on face
Different types of blemishes
How to remove blemishes from face effectively
The best skincare routine for blemished skin
Expert-recommended products and ingredients
What Are Blemishes?
Blemishes on face refer to any visible skin imperfection that affects the skin's appearance. These can include:
Acne and pimples
Dark spots
Acne scars
Hyperpigmentation
Red marks after breakouts
Whiteheads and blackheads
Uneven skin tone
Most blemishes develop due to inflammation, excess oil production, clogged pores, sun damage, hormonal fluctuations, or skin irritation. But don’t worry, we are going to help you tackle these with ease!
Why Do Blemishes Matter In This Age And Day?
With increasing pollution levels, prolonged screen exposure, stress, and hormonal imbalances, more people are experiencing blemished skin than ever before.
Dermatologists also report a rise in adult acne and post-inflammatory hyperpigmentation, especially in individuals with medium to deeper skin tones. Early treatment can significantly reduce long-term pigmentation and scarring.
Also, clear skin is such a vibe - so why not learn about it and take steps towards it?
What Are Blemishes?
When certain nosy people ask, "hey is that a new blemish on your face?", they're probably referring to visible marks or discoloration that interrupt your otherwise even complexion.
A blemish may appear as:
Acne Lesions
Whiteheads
Blackheads
Papules
Pustules
Pigmentation Marks
Post-acne spots
Sun spots
Melasma
Hyperpigmentation
Textural Irregularities
Acne scars
Enlarged pores
Rough skin patches
Not all blemishes are active acne. Many are actually the aftermath of healed breakouts. Now let’s learn why these ex’es bother us so much!
What Causes These Blemishes?
Sadly, there isn't a single cause. The reason for blemishes often involves multiple factors working together.
1. Acne and Clogged Pores
Acne remains the leading cause of facial blemishes. When excess sebum mixes with dead skin cells, pores become blocked, creating an environment where breakouts can develop. Dermatologists identify clogged pores and inflammation as major contributors to acne-related blemishes.
2. Hormonal Changes
Hormonal fluctuations can trigger increased oil production. Blame it on those uncertain hormone levels next time you see a blemish popping.
Common triggers include:
Menstrual cycles
Pregnancy
PCOS
Menopause
Stress-related hormonal shifts
The American Academy of Dermatology notes that adult acne commonly persists into the 30s, 40s, and even 50s, particularly among women.
3. Sun Exposure
UV radiation stimulates melanin production, causing existing blemishes to become darker and more noticeable. Without daily sunscreen, even well-treated pigmentation can return.
Use a lightweight sunscreen that is non-comedogenic and is made with a healthy formulation including niacinamide, hyaluronic acid, or natural extracts that moisturize and reduce pigmentation.
4. Inflammation and Skin Picking
We know acne-girlies love nit-picking acne but picking pimples can damage surrounding skin tissue and significantly increase the risk of:
Dark spots
Acne scars
Persistent redness
5. Lifestyle Factors
Several lifestyle habits contribute to blemished skin:
Poor sleep quality
Chronic stress
High-glycemic diets
Smoking
Inconsistent skincare
Studies have also found associations between stress, family history, and acne severity. Night owls and overthinkers, here is a reason for you to kick back for the sake of your skin!
Types Of Blemishes
Understanding your blemish type helps determine the most effective treatment: Check out this simple table that you can refer to:
Type
Appearance
Common Cause
Acne
Red bumps, pustules
Clogged pores
Post-Acne Marks
Brown or red spots
Healed breakouts
Hyperpigmentation
Dark patches
UV damage or inflammation
Acne Scars
Depressions or raised areas
Severe acne
Sun Spots
Flat brown spots
Sun exposure
Whiteheads & Blackheads
Congested pores
Excess oil
How To Remove Blemishes Effectively
People are always asking and googling ‘how to remove blemishes from face’, but the answer depends on the type of blemish really. Here is a dermat-suggested routine that can help you clear blemishes and care for your skin in an effective way:
Step 1: Use a Gentle Face Wash for Blemishes
A targeted cleanser for blemishes helps remove excess oil, impurities, and sunscreen buildup without disrupting the skin barrier. And all that makeup needs to be gone by the end of the day too!
Look for ingredients such as:
Hyaluronic Acid
Herbal extracts
Niacinamide
Mild Surfactants
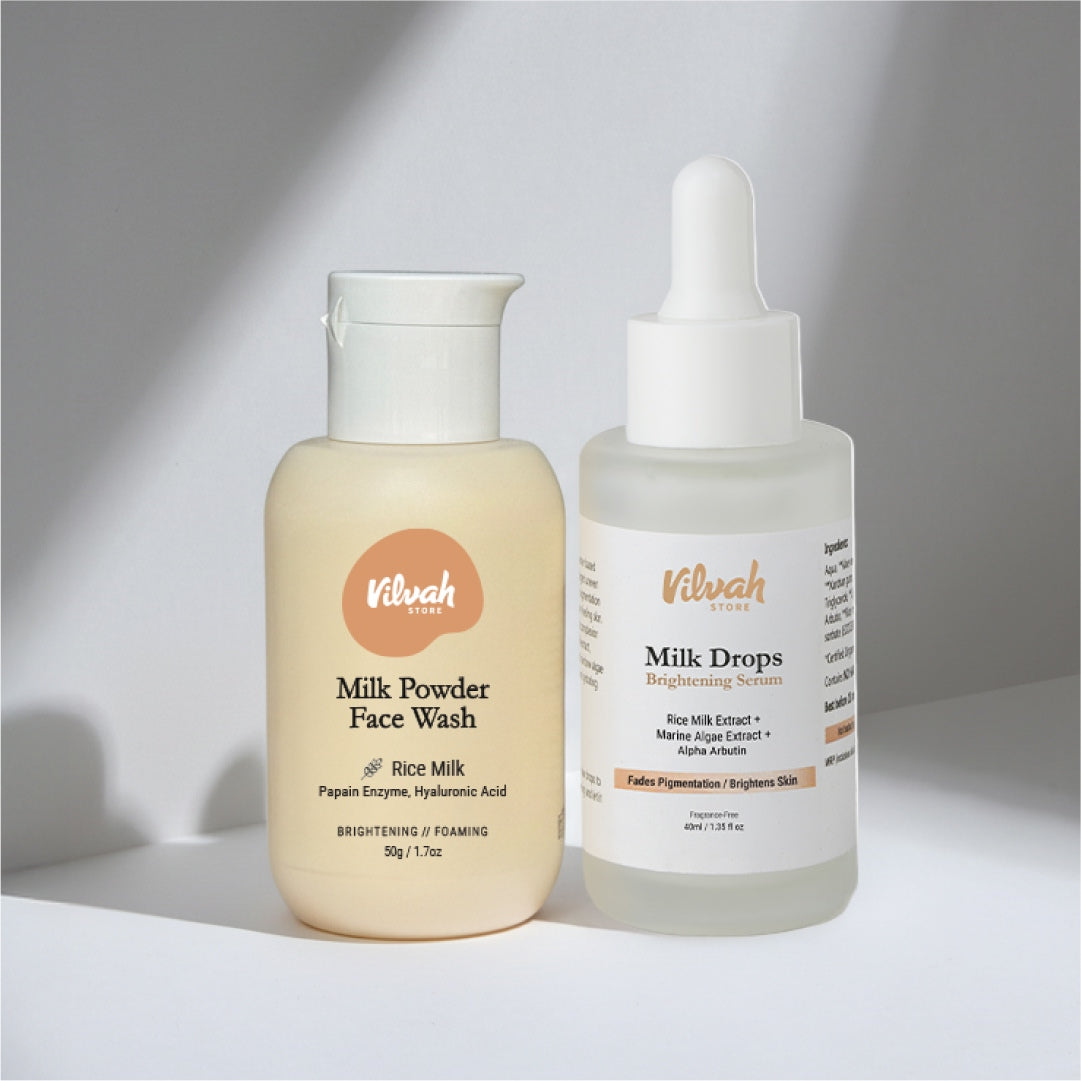
The Vivah Milk Powder Face Wash is one of the most recommended products on the internet for removing whiteheads, blackheads, blocked pores, and everything under the same, giving you clear, bright, and refreshed skin.
Step 2: Follow up with a Face Serum for Blemish Reduction
Choosing any of the best face serum for blemish is a non-negotiable for a clear skin routine. Make sure your serum targets pigmentation, inflammation, and skin repair simultaneously.
Recommended Ingredients:
Niacinamide
Helps reduce:
Redness
Excess oil
Uneven skin tone
Alpha Arbutin
Targets:
Dark spots
Hyperpigmentation
Post-acne marks
Vitamin C
Improves:
Brightness
Skin radiance
Pigmentation
One of the best, most effective serum for acne is the Milk Drops brightening serum that contains alpha arbutin and rice extract to hydrate skin, balance skin tones, and reduce acne scars and pigmentation for clearer skin. What’s better is that it is vegan and hypoallergenic - making it perfect for teenage acne, pregnancy acne, or sensitive skin acne, reducing them and fixing pigmentation and scars left behind by them.
Step 3: Use a Lightweight, Acne Safe Cream
Choose an acne treatment cream, a lightweight gel cream, an acne-safe face cream, or a non-comedogenic day cream that supports the skin repair while reducing discoloration.
The best cream for blemishes on face often includes:
Ceramides
Niacinamide
Azelaic Acid
Peptides
Licorice Extract
These ingredients help restore barrier health while gradually improving skin clarity. A dual-function sunscreen can be an incredible way to avoid piling things on your face - choose a sunscreen that is moisturizing, balancing, and acne safe that also doubles up as your face moisturizer.
Step 4: Never Skip Sunscreen
A ‘Clean Girl’ routine does not stop with just a face cream. This is arguably the most important step to protect your skin and reduce the occurrence of acne and acne scarring as sunlight can trigger pigmentation and marks.
Without SPF protection:
Existing blemishes darken
Healing slows down
Pigmentation becomes harder to treat
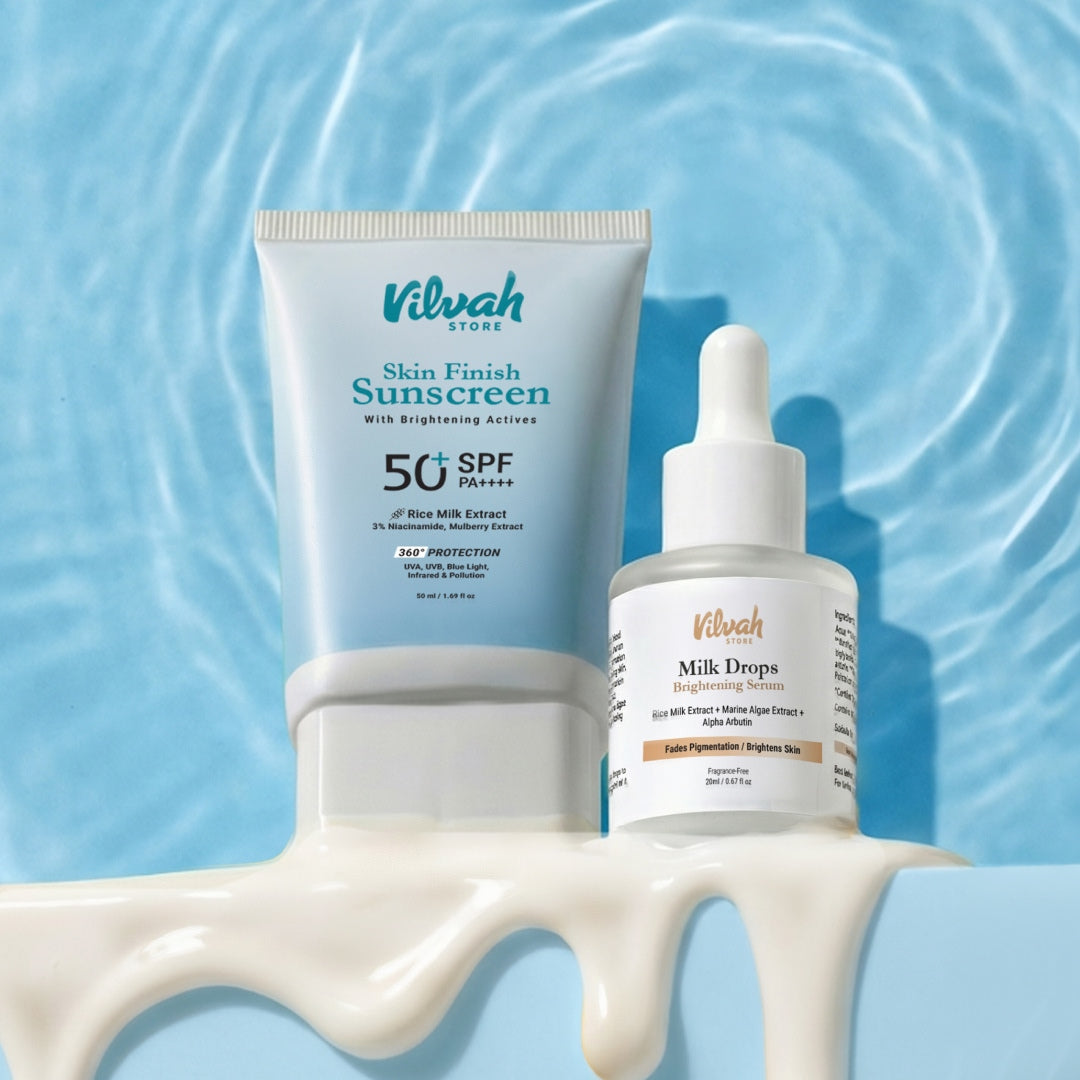
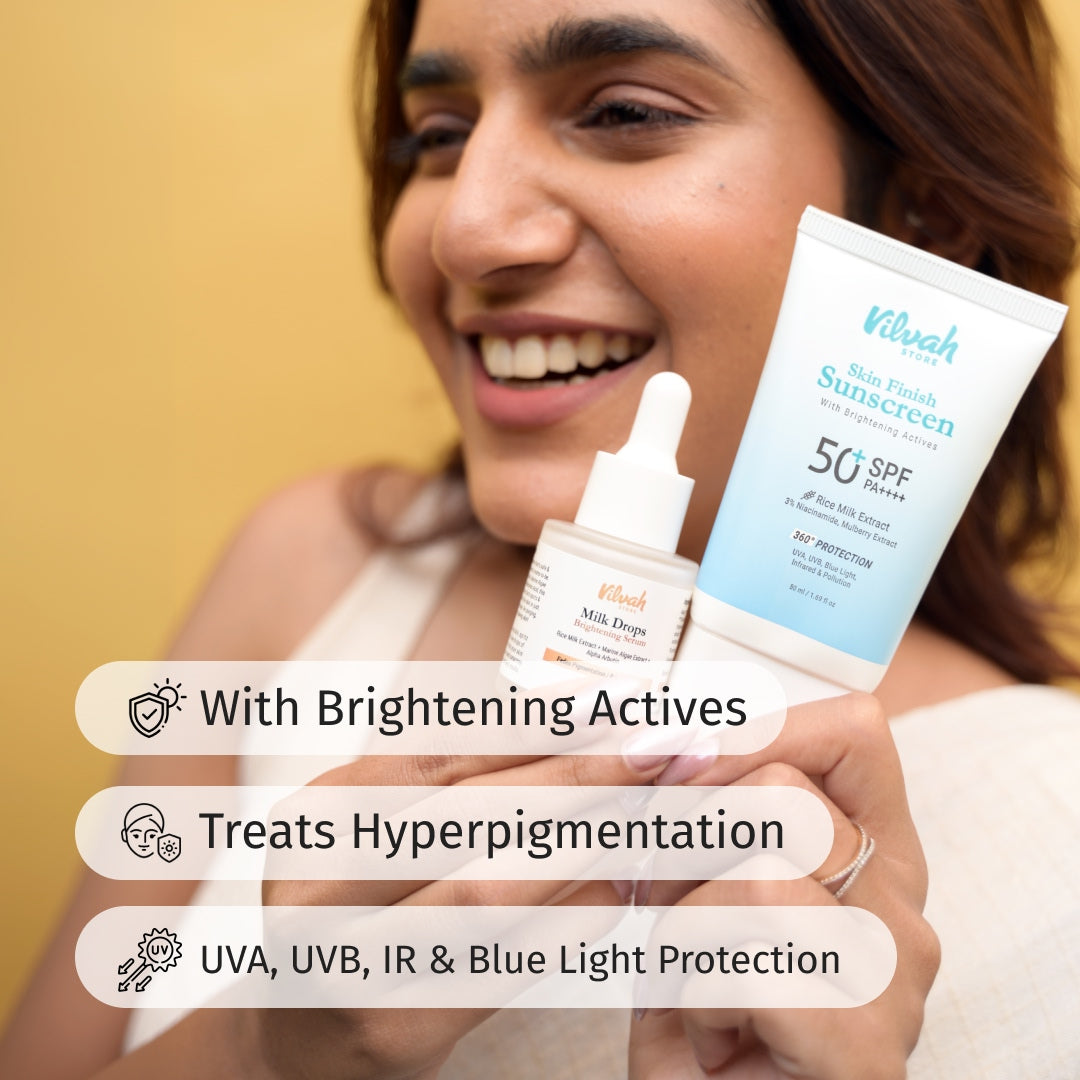
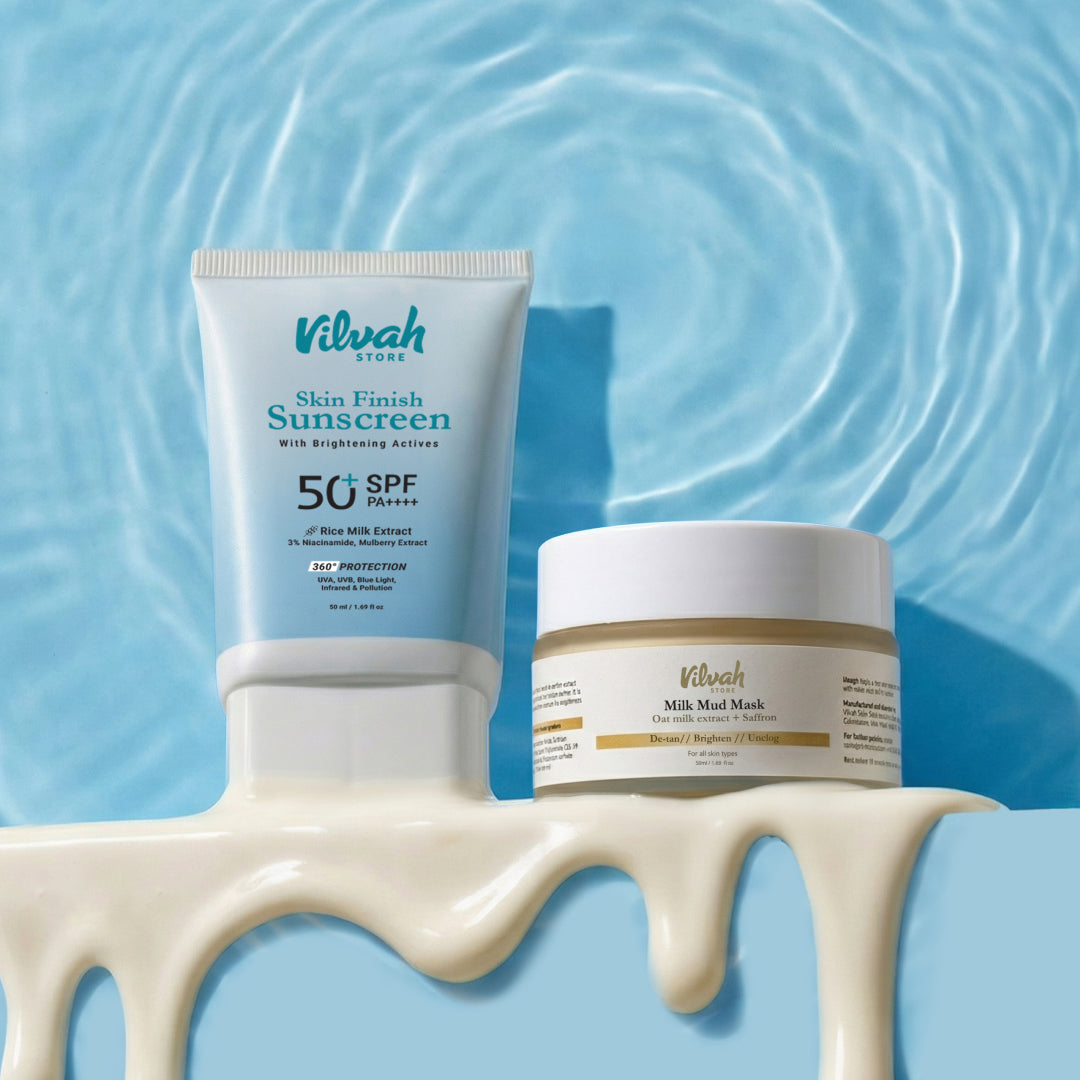
Dermatologists recommend broad-spectrum SPF 30 or higher daily. Vilvah’s Skin Finish Sunscreen has SPF 50+ with PA++++ rating that protects the skin from UVA and UVB rays while staying lightweight and non-greasy. It has a non-comedogenic formula that makes it perfect for acne-prone skin.
Step 5: Be Consistent
Most pigmentation and blemish treatments require:
6 - 8 weeks for visible improvement
3 - 6 months for significant reduction
We knew it before - We know it now! Nothing beats consistency. Consistency matters more than using multiple products at once.
Best Daily Skincare Routine for Blemished Skin
It is important to follow a distinct skincare routine for the morning and for the night. Your morning routine helps lighten marks, prevent scarring, and protect from sun damage. On the other hand, your evening routine should heal, hydrate, and restore your skin. Some miracles do happen overnight!
Morning Routine
1. Gentle Cleanser
Choose a face wash for blemishes. Try the Vilvah Milk Powder face wash or similar products for a gentle, yet thorough cleanse.
2. Brightening Serum
Use the best face serum for blemish such as the Milk Drop Brightening serum to reduce acne scars and pigmentation on the skin.
3. Moisturizer
Maintain hydration and barrier function. Use a lightweight, non-sticky, non-comedogenic moisturizer that does not cause acne.
4. Sunscreen SPF 50
Protect against pigmentation worsening with a lightweight sunscreen such as the Vilvah Skin Finish Sunscreen with rice milk and mulberry extract.
Night Routine
1. Cleanser
A good cleanser, possibly a foaming cleanser that removes oil and dirt effectively to unclog pores and reduce the appearance of blackheads, whiteheads, and blemishes.
2. Targeted Treatment Serum
Look for targeted treatment such as:
Alpha Arbutin - For Pigmentation
Niacinamide - For hydration and oil-balance
Azelaic Acid - For overall brightness and marks reduction
3. Repair Cream
A deeply hydrating, balancing, and acne scar reducing night cream can work wonders for your skin overnight - giving you radiant skin every morning.
Ingredients Dermatologists Recommend For Blemishes
Even though there are a bunch of ingredients in the market, not all are suitable for oily skin. Here are some of the dermatologist approved and recommended ingredients that you need to include for your acne care routine.
Niacinamide - Reduces oil production and improves skin tone.
Salicylic Acid - Unclogs pores and minimizes breakouts.
Azelaic Acid - Targets acne and post-inflammatory pigmentation simultaneously.
Vitamin C - Brightens dull skin and protects against environmental damage.
Alpha Arbutin - One of the most effective ingredients for dark spots.
Ceramides - Support long-term skin barrier health.
Final Thoughts
Whether your concern is acne marks, pigmentation, or uneven skin tone, understanding what kind of blemishes you have and then choosing the right products to treat them is the first step toward healthier skin.
The most effective approach combines:
✔ A gentle face wash for blemishes ✔ The best face serum for blemish reduction ✔ The best cream for blemishes on face ✔ Daily sunscreen ✔ Consistent skincare habits
While there is no overnight cure, a science-backed routine can dramatically improve blemished skin over time. By identifying the underlying reason for recurring blemishes and treating them early, you can finally achieve that glass-skin-like glow that you have been dreaming about!
FAQs
1. Is a blemish a dark spot?
Not always. A blemish is any skin mark or imperfection, and while some may leave dark spots, not all blemishes are dark spots.
2. Do blemishes go away naturally?
Some blemishes fade over time, but pigmentation and acne scars often require targeted skincare and sun protection for faster improvement.
3. How long does it take to remove blemishes?
Most people begin noticing improvement within 6–12 weeks when using effective ingredients consistently.
4. Can sunscreen help reduce blemishes?
Indirectly, yes. Sunscreen prevents UV-induced darkening, allowing existing blemishes to fade more efficiently.
5. What causes recurring blemishes?
Recurring blemishes are often linked to:
Hormonal fluctuations
Inadequate cleansing
Excess oil production
Chronic inflammation
Lack of SPF protection
Read More →

How to Get Rid of Split Ends: Tips & Causes
Hair damage rarely happens overnight. It builds slowly. One day, your hair feels slightly rough at the ends, then it starts tangling more often, looking frizzy, and breaking easily while brushing. Before you realise it, those dry and damaged ends become impossible to ignore.
Split ends are one of the most common hair concerns, but most people approach them the wrong way. They either overload their hair with products or ignore the problem until the damage spreads further up the strands.
In this blog, you’ll understand what causes split ends, why they happen so easily, and practical ways to manage them without complicating your routine.
What Are Split Ends?
Split ends happen when the protective outer layer of your hair becomes weak and damaged. As the hair loses moisture and strength, the ends begin to split into multiple strands. This type of damage is extremely common, especially in longer hair, because the ends are the oldest and most exposed part of the strand.
Some common signs include:
Dry and rough hair ends
Frizz that doesn’t settle
Increased tangling
Hair breakage while combing
Dull-looking strands
Most people dealing with split ends hair notice that their hair starts looking unhealthy even if the roots feel fine. That’s because the damage usually begins at the ends and slowly moves upward if ignored.
What Causes Split Ends?
Split ends are usually a result of repeated stress on the hair. Daily habits matter more than most people think.
Heat Styling
Frequent use of:
Straighteners
Curling tools
Blow dryers
can weaken the hair cuticle and remove moisture from the strands.
Lack of Hydration
Dry hair breaks much faster. Without proper moisture, the ends become brittle and fragile.
Harsh Hair Products
Strong shampoos and products with harsh cleansers can strip away natural oils that protect your hair.
Sun Exposure
Most people protect their skin from the sun, but forget that hair also gets damaged by UV exposure. Heat and sun can leave hair dry, rough, and weak over time.
Overwashing
Washing your hair too often can remove the natural oils needed to keep the hair soft and protected.
Skipping Regular Trims
When split ends are ignored for too long, the damage travels further up the strand and causes more breakage.
How To Remove Split Ends?
The truth is, once the hair strand splits, it cannot permanently repair itself. The only way to completely remove split ends is by trimming them.
That said, the right hair care routine can still:
Improve texture
Reduce roughness
Prevent further splitting
Make hair look smoother and healthier
Regular trims every few months help stop the damage from spreading and keep the hair looking healthier overall.
How To Prevent Split Ends?
Preventing split ends is easier than fixing them later. The key is to keep your hair hydrated, protected, and free from unnecessary damage. A simple and consistent routine can make your hair look healthier and feel smoother over time.
1. Start With a Gentle Shampoo
Choosing the best shampoo for split ends is important because harsh shampoos can dry out your hair and weaken the strands.
Look for a shampoo that:
Cleans without stripping moisture
Keeps hair soft after washing
Supports overall hair health
If your hair feels rough immediately after washing, your shampoo is probably too harsh.
2. Use a Hair Mask Weekly
Dry hair becomes brittle faster, which is why hydration matters. Using a hair mask for split ends once or twice a week helps improve softness and reduce rough texture.
A good hair mask helps:
Restore moisture
Reduce frizz
Improve manageability
Keep ends softer and smoother
Focus mainly on the mid-lengths and ends while applying the mask.
3. Protect Hair With a Serum
Applying the best hair serum for split ends helps protect your hair from dryness, friction, and environmental stress.
Hair serums help by:
Smoothing rough ends
Controlling frizz
Adding shine
Reducing moisture loss
Serums also create a lightweight protective layer over the hair strands, which helps reduce breakage caused by daily wear and tear.
4. Trim your Hair Regularly
Regular trims help stop split ends from spreading further up the hair shaft. Even small trims every few months can make a noticeable difference.
Protect Your Hair Before Damage Starts
Split ends are usually a sign that your hair needs more protection and better care, not harsher products or complicated routines. If you’re looking for products that support smoother, healthier-looking hair, you can explore Vilvah's hair care range. From nourishing shampoos to everyday hair care essentials, the focus is on keeping your routine simple, effective, and gentle on your hair.
Your hair doesn’t need quick fixes. It needs consistent care. Visit Vilvah Store online or step into your nearest Vilvah store to experience the products firsthand and find what truly works for your hair.
FAQs
1. What are the different types of split ends?
Split ends can appear in different forms, including basic splits, tree-like splits, fork splits, and thin feathered ends. These are signs that your hair is dry or damaged and needs extra care.
2. Do split ends stop hair growth?
Split ends do not stop hair growth from the roots, but they can make hair break more easily, making it harder to maintain length. This often makes it feel like your hair is not growing.
3. Can split ends cause hair fall?
Split ends do not directly cause hair fall, but they can weaken the hair shaft and lead to breakage and thinning-looking hair. Healthy hair care can help reduce this damage.
4. Does cutting split ends make them worse?
No, cutting split ends does not make them worse. In fact, trimming damaged ends helps prevent the split from traveling further up the hair, keeping your hair healthier and smoother.
5. What Should You Do for Dry Hair and Split Ends?
Use a hydrating shampoo, deep conditioner, and nourishing hair oil regularly. Avoid heat styling and trim split ends occasionally to keep your hair soft, smooth, and healthy.
Read More →

Your Cracked Lip Corners Are A Warning Sign!
Cracked lip corners may seem like a small problem, but anyone who has experienced them knows how uncomfortable they can be. From painful smiling and eating to constant dryness and irritation, cracked corners of lips can affect your everyday comfort more than expected. Often caused by dryness, dehydration, lip licking, harsh weather, or nutritional deficiencies, these tiny cracks can become stubborn if not treated correctly. They may leave behind scars and pigmentation that often become permanent. Without the right treatment, they may develop pus and infection, forcing you into immediate care.
This blog helps you understand the real causes for cracked lip corners, how to heal them effectively, and the best ways to prevent them from returning. It also introduces nourishing lip care solutions that deeply moisturize and protect delicate lip skin naturally.
By the end of this blog, you will:
Causes for cracked lip corners
How to heal cracked lip corners (Remedies and prevention tips)
Discover ingredients to treat cracked lip corners
Know when to seek help for cracked lips
What Are Cracked Lip Corners?
Cracked lip corners refer to painful splits or irritation that develop at the edges of the mouth. These cracks may appear red, flaky, dry, or even swollen. In severe cases, they can bleed or sting while eating spicy or acidic foods.
The condition is commonly linked to excessive lip dryness, but sometimes it may also be related to a condition called angular cheilitis, where moisture, bacteria, or fungal growth irritates the corners of the lips.
Common Symptoms of Cracked Lip Corners
Some common symptoms for cracks on mouth corners are associated with the following:
Dryness and peeling
Redness around lip edges
Pain while smiling or talking
Burning sensation
Small cuts or splits at mouth corners
What Causes Cracked Lip Corners?
Those tiny splits at your lip corners can hurt more than you expect. Understanding the causes is the first step to lasting relief.
Dehydration and Dry Weather
One of the most common causes of cracks at the corners of the mouth is lack of moisture. Cold weather, air conditioning, excessive sun exposure, and dehydration can strip lips of their natural oils.
Constant Lip Licking
Many people unknowingly lick their lips when they feel dry. While saliva may feel temporarily soothing, it actually worsens dryness and irritation over time, causing cracks at side of mouth.
Nutritional Deficiencies
Deficiencies in iron, vitamin B, or zinc may contribute to recurring cracked corners of lips. Cracked lip corners in pregnancy are becoming increasingly common and also among those with poor dietary habits.
Harsh Lip Products
Some lip products contain artificial fragrances, alcohols, or irritating ingredients that can worsen sensitivity and dryness around the lips. Using poor quality lip balms or lipsticks with harsh chemicals can result in sores at corner of mouth, progressing to infections when not treated.
This is why choosing deeply nourishing, gentle lip balms with skin-loving ingredients becomes essential for maintaining soft and healthy lips, like Vilvah’s Grapefruit and Lemon lip balm which are made with natural, vegan ingredients to protect your lips.
How to Heal Cracked Lip Corners Naturally
What if the solution to your cracked lip corners is already with you? These natural tips can save your smile.
Keep Lips Constantly Moisturized
Healing starts with restoring moisture. A rich, hydrating lip balm like the Vilvah Milk Lip Balm helps create a protective barrier that prevents further cracking.
Avoid Picking or Peeling Dry Skin
Peeling dry lips may worsen cracks and delay healing. Instead, allow nourishing lip care products to naturally repair the skin barrier.
Drink More Water
Hydration plays a major role in lip health. Drinking enough water helps prevent lips from becoming dry and irritated, helping you get back healthy lips with a pink glow.
Use Gentle Lip Care Products
Avoid lip products with harsh chemicals or strong artificial fragrances. Instead, choose formulas rich in butters and oils that support long-term nourishment. All of Vilvah’s lip balms are made using natural, organic butters and oils for safe use even during pregnancy and nursing.
Best Ingredients for Dry and Cracked Lips
It is important to choose the right products for your lip as all of us tend to ingest them subconsciously while eating, talking, or drinking. Choosing natural formulations prevents ingesting chemicals such as parabens, fragrance, and silicones that are mostly found in all ordinary lip balms, which can cause health hazards in the long run.
Shea Butter and Cocoa Butter
Shea butter and cocoa butter help deeply condition lips while reducing dryness and flakiness. The Vilvah Grapefruit lip balm is made with natural shea butter to hydrate the lips intensely.
Natural Oils
Oils like almond oil, coconut oil, and jojoba oil help lock in moisture and improve softness. The Vilvah Mango Milkshake and Creambun lip balms are made with original olive squalene to heal chapped lips.
Fruit-Based Nourishing Ingredients
Natural fruit extract such as mango butter, mowrah butter, grapefruit extracts, and lemon extracts help hydrate, nourish, and protect the lips from dryness and damage. The Vilvah lip range focuses on natural ingredients such as fruit and flower extract to deliver complete lip nourishment.
Why Lip Balms Matter for Preventing Cracked Lip Corners
Not all lip balms are created equal. Some protect, while others barely help. Discover why the right balm can be your best defense against painful, cracked lip corners.
Protection Against Moisture Loss
Lips lack oil glands, which means they dry out faster than the rest of the skin. A good lip balm for cracked lip corners creates a barrier against environmental stressors and helps tackling chapped lips.
Daily Lip Care Prevents Future Damage
Consistent use of lip balm for dry cracked lip corners can prevent recurring cracks, especially during colder months or long hours in air-conditioned environments.
Choosing the Right Texture and Formula
Some people prefer lightweight hydration, while others enjoy richer, comforting textures. Based on how you like your lip treatment, you can either choose a lip butter or a lip balm, and maybe even enjoy a good tinted lip balm for that extra dose of attention.
Lip Care Routine for Soft and Healthy Lips
Want lips that feel soft and look flawless? A few mindful steps in your daily routine can make all the difference.
Morning Protection
Apply a nourishing lip balm before stepping outdoors to protect lips from dryness and pollution. An SPF-infused lip balm such as the Vilvah Milk Lip Balm with SPF 30 PA++ not only hydrates but also protects your delicate lips from sun stress.
Night Repair Routine
Using a richer lip balm overnight allows lips to repair and recover while you sleep.
Gentle Weekly Exfoliation
A mild lip scrub once a week helps remove flaky skin without damaging delicate lips. Try the Vilvah Lip Scrub with shea butter, lemon and avocado oil to gently exfoliate, revealing brighter, softer lips.
When Should You See a Doctor?
Not all lip cracks are harmless. Learn the warning signs that mean it’s time to seek professional help before small cracks turn into painful problems.
Persistent or Severe Cracks
If cracked lip corners do not improve after consistent moisturizing or become painful and inflamed, medical consultation may be necessary.
Signs of Infection
Swelling, pus, or severe redness may indicate fungal or bacterial infection requiring treatment.
Conclusion
Cracked lip corners may be common, but they should never be ignored. From dehydration and harsh weather to poor lip care habits, several factors can trigger dryness and irritation around the lips. Fortunately, with the right care routine and nourishing ingredients, soft and healthy lips are absolutely achievable.
Daily hydration, avoiding harsh products, and using deeply moisturizing lip balms can make a significant difference in preventing and healing cracked corners of lips. Choosing comforting, ingredient-rich formulas also turns lip care into a pleasant self-care ritual rather than just another routine step.
For anyone looking to restore softness and keep dryness away, indulgent options from the Vilvah Lip range offer both nourishment and a delicious sensory experience, helping lips feel hydrated, smooth, and cared for every day. Plus, being a vegan and organic lip care range, Vilvah lip balms are perfectly safe even if they accidentally (or intentionally) make it to your taste buds.
FAQs
1. What causes the corner of your lip to split?
Cracks at the corners of your lips usually happen due to dryness, harsh weather, or frequent lip licking. Sometimes, a lack of vitamins like B or iron can make them worse.
2. Who gets cracks on lip corners?
Anyone can get them, but they are more common in people with dry lips, sensitive skin, or poor nutrition. Pregnant women and frequent lip lickers are often affected too.
3. How long do cracks in mouth corners last?
Mild cracks can heal in a few days with proper care, like moisturizing and avoiding irritants. Severe or infected mouth corner cracks may take a couple of weeks to fully recover.
4. What are the risk factors for mouth corner cracks?
Dry weather, dehydration, constant lip licking, harsh lip products, and poor diet can all increase the risk. People with weakened immunity or infections are more prone too.
5. Are mouth sores always the result of angular cheilitis?
Not always. Mouth sores can appear due to dryness, irritation, infections, or nutritional deficiencies - not just angular cheilitis.
Read More →

Hair Breakage: What Causes It & How to Prevent
Hair fall gets all the attention. But hair breakage? That’s the real problem many people ignore.
You oil your hair, follow a dedicated hair care routine, and still end up with rough ends, frizz, and shorter-looking hair. Why? Because your hair may not actually be falling out at the roots, it could be breaking in the middle or at the ends. And once breakage starts, your hair becomes weaker, thinner, and harder to manage.
In this blog, you’ll clearly understand what hair breakage is, the common reasons for hair breakage, and how to prevent it.
What Is Hair Breakage?
Hair breakage happens when the hair shaft becomes weak and snaps before it completes its natural growth cycle. Unlike hair fall, where hair falls from the root, breakage happens along the length of the hair.
Signs of hair breakage include:
Split ends
Frizzy texture
Short broken strands
Hair that feels rough and weak
Difficulty growing longer hair
Many people confuse breakage with hair fall, but they are completely different problems.
What Causes Hair Breakage?
At its core, hair breakage happens when the protective outer layer of the hair gets damaged.
Healthy hair contains moisture, proteins, and natural oils that keep it strong. But when the hair repeatedly loses moisture or faces physical stress, it becomes weak and snaps easily.
5 Major Reasons For Hair Breakage
Hair doesn’t become weak overnight. Breakage is usually the result of repeated stress and damage over time.
Here are some of the most common reasons:
1. Excessive Heat Styling
Frequent use of:
Straighteners
Curling tools
Blow dryers
removes moisture from the hair and weakens the strands.
2. Over-Washing
Washing your hair too often strips away natural oils, leaving the hair dry and brittle.
3. Tight Hairstyles
Constant tight ponytails, buns, or braids pull on the hair and increase stress on the strands.
4. Chemical Treatments
Hair colouring, bleaching, rebonding, and smoothening weaken the hair structure over time.
5. Lack Of Moisture
Dry hair breaks faster. Hair needs moisture and nourishment to stay flexible and strong.
How To Stop Hair Breakage?
Stopping hair breakage starts with reducing damage, not adding more products.
Here’s what actually helps:
1. Reduce Heat Usage
Try limiting heat styling tools as much as possible. If you use them:
Apply a hair serum which acts as a good heat protectant
Use lower temperatures
2. Handle Wet Hair Gently
Wet hair is weaker and more prone to breakage.
Avoid aggressive towel drying
Use a wide-tooth comb
3. Trim Split Ends Regularly
Split ends can travel upward and cause more damage over time. Regular trims help keep the hair healthier and stronger.
4. Avoid Tight Hairstyles
Tight ponytails and buns put constant stress on the hair strands and roots. Looser hairstyles help reduce tension and breakage.
5. Keep Your Hair Hydrated
Dry hair breaks more easily. Regular oiling, conditioning, proper hydration, and a balanced diet help keep the hair soft and healthy.
Hair Products That Help With Breakage
Not every product helps damaged hair. Some simply coat the hair temporarily without solving the actual issue.
Useful hair products for hair breakage usually focus on:
Hydration
Strengthening
Frizz control
Moisture retention
A simple routine with the right products works better than layering too many treatments.
Focus on:
Hair oil
Mild shampoo
Nourishing hair mask
Lightweight anti-frizz hair serum
Choosing The Best Hair Oil For Breakage
A nourishing option like Vilvah’s Hair Regrowth Oil helps support weak and breakage-prone hair by:
Deeply nourishing the scalp and hair
Helping reduce dryness and frizz
Supporting stronger and healthier-looking strands
Improving overall hair texture with regular use
Regular oiling also helps protect the hair from environmental stress and dryness.
Choosing The Right Shampoo For Hair Breakage
Your shampoo plays a major role in hair health. Harsh shampoos remove natural oils and leave hair dry, rough, and weak. That’s why choosing a gentle shampoo for hair breakage matters.
Look for shampoos that:
Clean without over-drying
Support moisture balance
Contain nourishing ingredients
Protein-rich formulas can help strengthen weak strands and improve overall hair texture over time.
Aloe Vera For Hair Breakage
Aloe vera is popular for a reason: it helps soothe, hydrate, and soften the hair.
Benefits of aloe vera for damaged hair include:
Helps reduce dryness
Adds moisture to rough strands
Calms the scalp
Improves manageability
Dry hair breaks more easily, so keeping it hydrated is important. Aloe vera supports that without making the hair feel heavy.
Healthy Hair Starts With Simple Care
Hair breakage doesn’t happen instantly. It builds slowly through stress, dryness, heat, and poor hair care habits. The good news is that with the right products and consistent care, you can strengthen your hair and reduce breakage over time.
At Vilvah Store, every hair care product is created to support stronger, healthier, and more manageable hair with ingredients that focus on nourishment and long-term care. Because healthy hair doesn’t come from shortcuts, it comes from consistency.
Visit Vilvah Store online or step into your nearest store to experience the products firsthand and find what works best for your hair.
FAQs
1. Is hair breakage normal?
Yes, hair breakage is normal to some extent, especially due to styling, brushing, or environmental stress. Occasional breakage is natural, but excessive breakage signals that your hair needs care and nourishment.
2. How can you control hair breakage?
You can control hair breakage by using a gentle shampoo, deep conditioning, and avoiding harsh heat or chemical treatments. Trimming split ends regularly and using a wide-tooth comb can also protect your hair.
3. What are the symptoms of hair breakage?
Hair breakage shows as short, uneven strands, split ends, and hair that snaps easily when brushed. The hair may feel dry, rough, or brittle to touch.
4. Can hair breakage grow back?
Yes, hair breakage can grow back with proper care. Healthy hair routines, good nutrition, and gentle handling help new, strong hair grow in place of the broken strands.
5. Is hair breakage permanent?
No, hair breakage is not permanent. While broken strands cannot repair themselves, new hair can grow healthy if you adopt proper hair care and avoid damaging practices.
Read More →